Friday, June 29, 2012

Triple Chocolate Cupcakes

Hello all! I hope that you are in the mood for cupcakes, because I have a whole bunch of great cupcake things headed your way! All involving chocolate, all rich and decadent, and all fairly simple to make.


This week I am feeling incredibly blessed. Here are a few things that I am so thankful for this week: getting a big bag of clothes that are either my size or my little sister's, a wonderful mom's 50th birthday, 104 beautiful chocolate cupcakes, good friends both at home and at softball games with root beer floats after, my husband whom I love so much and who takes such good care of me, my little brother coming for a visit... I could go on and on! i love how God takes care of us, even in the little things in life. It has just been a good week!

My mom's birthday is today, and she turned 50! I used to think that my mom and I were really drastically different, which is true in some respects because I do tend to take more after my Dad's side of the family, but recently I have really come to realize that I am more like her than I thought. I think it is becoming more evident as I get older :) It has been really fun to be married and talk to her and learn from her and I look forward to doing so for many more years!

Last weekend, my sisters and I threw a big surprise birthday for her back home. To this point in my life, I have never witnessed such a shocked reaction to a birthday party! It was fantastic :) The party was a week before her actual birthday, and since my Dad has this "problem" of not being able to keep a secret or lie (especially to my mom), Mom wasn't suspecting a thing because she knew Dad wasn't organizing it- and he wasn't. I did tell him about all the plans on Thursday before the party which was on Saturday, (because of course, I can't keep a secret either!). He informed me shortly after arriving at the party that he did accidentally slip once that day, mentioning something about us being at the farm, but my little brother, who also knew nothing about the party, covered for him beautifully. Go figure.


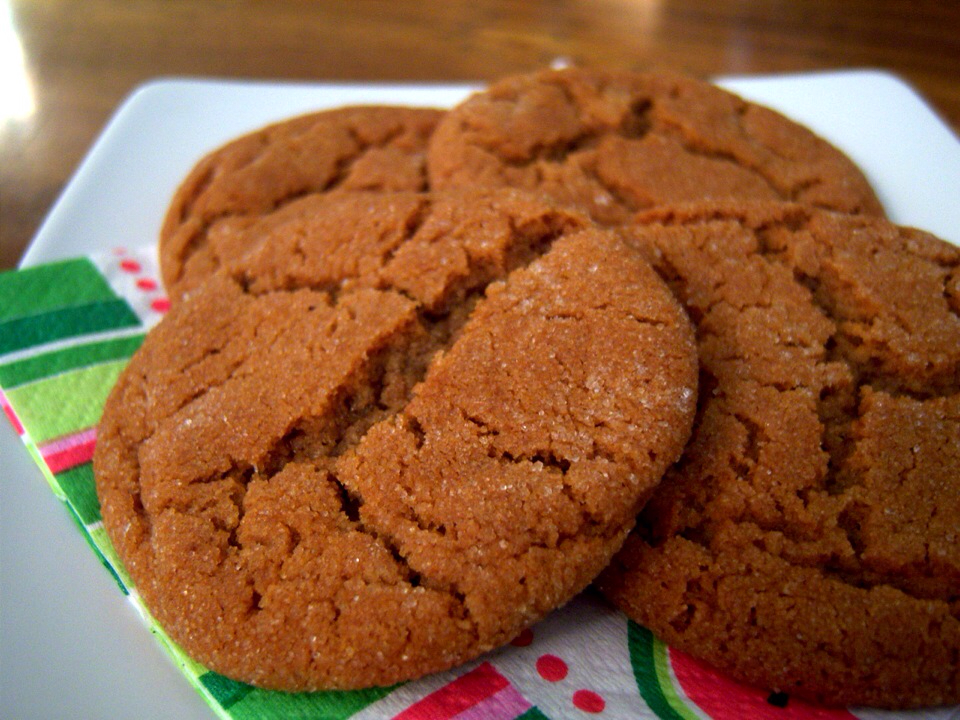
For this party, my older sister Amanda and I decided that everything needed to be as black and white as possible, so all chocolate desserts was a must. Although I have made over 100 cupcakes at one time before, I have never had to make that many and travel great distances with them! My parents live about 6 hours from us here in Omaha, and since it is June, I was a little concerned about the heat. Everything went more smoothly than I could have imagined, and the only "disaster" I can contrive was when one cupcake "slipped" into my little sister, leaving the side of the frosting in the shape of her hand :) I'm pretty sure it was eventually eaten as well, however.  


Today I am giving you the recipe for the Triple Chocolate cupcakes, and they are truly triple. The cake is milk chocolate with a generous scoop of rich dark chocolate filling and all topped off with a white chocolate buttercream frosting. Over the next week I will be posting about two of the other cupcakes from the party as well. 


Triple Chocolate Cupcakes
Makes about 24

For the milk chocolate cupcakes:
6 oz. milk chocolate chips
2 sticks plus 6 tablespoons butter, cut into pieces
1 1/3 cup flour
1/4 cup plus 1 tablespoon cocoa powder
1 1/2 teaspoons baking powder
1/2 teaspoon salt
1 1/2 cups sugar
1 tablespoon vanilla
6 eggs, at room temperature

For dark chocolate filling:
1 cup heavy cream
1 tablespoon light corn syrup
pinch salt
8 oz. semisweet or bittersweet chocolate chips

For the white chocolate frosting*:
3 large egg whites, at room temperature
3/4 cup sugar
pinch salt
2 sticks butter, cut into 16 pieces, at room temperature
4 oz. white chocolate chips

*Note: For the party, I actually doubled the frosting recipe that I have given you. With the double batch, we were able to frost the 24 cupcakes with generous mounds of frosting, and had enough leftover to frost 12 more cupcakes. This is why I did not double the recipe here. Feel free to double the frosting if you would like, but the single recipe should be adequate. 


1. Begin by preheating your oven to 350° and making sure that an oven rack is in the middle of your oven. Place paper cupcake liners of your choice in two cupcake tins and set aside.

2. To make the cupcakes, place the chocolate and the butter in a double broiler over simmering (not boiling) water in a saucepan on the stove. You can also use a glass bowl if you do not have a double broiler. Make sure that the bottom of the double broiler or the bowl does not touch the water. Stir frequently until the butter and chocolate are melted and smooth. Transfer the chocolate to a large mixing bowl and let it cool to room temperature.

3. In a medium bowl, whisk together the flour, cocoa powder, baking soda, and salt. When the chocolate has cooled in the large bowl, stir in the sugar with a wooden spoon. Next, stir in the vanilla and the eggs, one at a time, until the batter is smooth after each addition. Gently fold in the flour mixture, being careful to not overmix.

4. Pour the batter into the prepared pans until the papers are about 3/4 of the way full. Bake for 22 to 24 minutes, rotating the cupcakes half way through the baking time. Allow the cupcakes to cool in the pan for 5 minutes, then transfer the cupcakes to a wire rack to cool completely.

5. While the cupcakes are cooling, make the dark chocolate filling. In a small sauce pan, bring the cream, the corn syrup, and the salt to a simmer over medium-high heat. Remove the pan from the heat and add in the chocolate chips. Allow to mixture to set for several minutes, then stir with a wooden spoon until the chocolate chips are melted and the the filling is smooth. Let the filling cool slightly so that is it just warm when you are ready to fill the cupcakes.

6. When the cupcakes are cool, use a small knife to cut a well in the center of each cupcake. The piece you remove from the cupcake should be about 1-1/2 inches across and 1 inch deep. Fill each cupcake with about 1 tablespoon of the dark chocolate filling. Allow the filling to set before frosting the cupcakes.

7. To make the white chocolate frosting, begin by heating the white chocolate in a double broiler until is it just melted. Remove from the heat, and allow to cool.

8. Meanwhile, combine the egg whites and the sugar in a double broiler over simmering water. Whisk the mixture constantly until the sugar has dissolved and the mixture reads about 160° on a thermometer. If you do not have a thermometer, just heat the mixture until it is very warm to the touch. Transfer the eggs and sugar to a large clean bowl and beat with an electric mixer on high speed until the it has cooled to room temperature and can hold stiff peaks. Make sure that the mixture does not look dry, however.

9. Reduce the mixer speed to medium-low and add the salt and butter a few pieces at a time. Make sure each addition of butter is fully combined before adding more. Once the butter is all added, beat the frosting on high speed until it is smooth and creamy. If the frosting is runny, just continue to mix and it will take shape eventually, but you might have to beat it several minutes. Reduce the mixer to low and add in the cooled white chocolate until well combined. Frost the cooled and filled cupcakes immediately. Enjoy!

Source: Adapted from Cupcakes by Shelly Kaldunski. And special thanks to AmandaJean Photos for the great pictures!

Thursday, June 7, 2012

Sourdough Biscuits

My dad called the other day and left me a voice mail that went something like this: "Hey, I have a recipe that I want you to try. Call me back. Bye." No more, no less. Well, I was intrigued, to say the least, and before I had the chance to call him back, he called again to tell me about these biscuits. He said he just wasn't sure about them, so he wanted me to try them first. So, like a good daughter, I went out the next morning and bought the ingredients because I didn't have them on hand. Funny thing is, he actually bought the stuff too and ended up making then before I did! I guess I wasn't the guinea pig baker after all, if ya know what I mean :)

As far as biscuits go, they were not what I was expecting at all, but they were fabulous! The Greek yogurt gives them a sour flavor, like a sourdough bread, which since sourdough is one of my most favorite things, I will definitely be making these again. I made them to go with sausage gravy, but I probably won't use them for that again. They are not crumbly like normal biscuits, but rather chewy and more bread-like, so they weren't the best at soaking up the gravy. They would be excellent with soup or in place of a dinner role as a side for a savory meal. Either way, if you are in need of a bread to add to your menu, and you're short on time, this would be what I would recommend. 


Sourdough Biscuits
Makes about 10

1 1/2 cups self-rising flour
1/2 teaspoon salt
1 1/4 cups plain Greek yogurt

1. Preheat your oven to 450°. In a medium bowl, combine the flour and the salt and whisk together. Add the yogurt in all at once and stir to form a dough.

2. Turn the ball of dough out onto a floured surface. Lightly sprinkle the dough with flour, then pat down to about a half of an inch thick. Fold the dough in half, then pat out again. Do this twice.

3. Using a rolling pin, roll the dough until it is 1/2 inch thick a final time. Using a floured cookie cutter, cut out the biscuits and place on lightly greased pan. Combine the dough scraps and roll out again to cut more biscuits. Do this until the dough is all gone.

4. Bake in the oven for 10 to 14 minutes until golden brown. Allow them to cool slightly before serving. Enjoy!

Tuesday, June 5, 2012

Gingersnaps

Or as I like to call them, "Gingersnaps Yo," thanks to my friend Hanna's little sister. Back when Hanna and I lived together, the recipe for these amazing cookies showed up one day on our fridge. Hanna had wanted to make gingersnaps, so I think that her sister wrote down the recipe from their mom and gave the well-known cookie's name a new twist. I have made gingersnaps my whole life and this is now my go-to recipe. When we moved, I somehow ended up with the recipe for a while in my stash of random recipes that are all jotted down on random pieces of paper. I have this little magnetic notepad thing with a pocket that usually sits on the front of my fridge. The pocket is great for holding recipes, notes, and coupons. One day when I was going through the clippings, I found the "gingersnaps yo" page. I have since then given the recipe back to Hanna, but not before making sure it was added to my collection.

One thing I really like about these cookies is that they are really easy to make and the recipe does not make a huge batch of cookies, so it's perfect if I'm making cookies for just the two of us at home. If you are wanting to take the cookies to an event or something, or you happen to live with several cookie monsters, you might want to double the recipe. Also, I usually tend to bake them so that they are more chewy instead of snappy, like the name implies. That, of course, is up to you.

 As the cookies were baking last night, my husband told me it smelled like Christmas in our apartment. How can you go wrong with something that smells like that? :)


Gingersnaps Yo
Makes about 30 cookies

1 cup sugar
3/4 cup butter, softened
1/4 cup molasses
1 egg
2 1/4 cups flour
2 teaspoons baking soda
1/2 teaspoon salt
1 teaspoon ground cinnamon
1/2 teaspoon ground ginger
1/2 teaspoon ground cloves
1/4 teaspoon nutmeg
1/2 cup sugar, for rolling

1. Preheat the oven to 350°.

2. Begin by creaming together the butter and the sugar in a large bowl until combined. Add in the molasses and the the egg. Mix well, then set the bowl aside.

3. In a medium bowl, whisk together the flour, baking soda, salt, and all the spices until no streaks remain. Add the dry ingredients into the large bowl with the wet ingredients and stir with a wooden spoon until well combined.

4. If the dough is very soft, refrigerate it for about 30 minutes to allow the dough to firm up. When ready to bake, roll teaspoon sized balls of dough in sugar and place on an ungreased cookie sheet about 2 inches apart from each other.

5. Bake for 8 to 12 minutes. For a truly snappy cookie, you can bake the cookies for a minutes longer, but be careful not to burn them! Allow the cookies to cool for a few minutes on the cookie sheet, then move to a wire cooling rack to cool completely. Enjoy!

Friday, June 1, 2012

French Onion Soup


It's funny how so many of the foods that I really love to eat also connect with someone else I know. I think that is one thing that I love about food so much. It brings people together in ways that few other things can, and at least in my life, I tend to remember the people along with the food. Strange, perhaps, but I can't help it! For example, carrot cake makes me think of my Grandma Lillian. There happen to be two people that French Onion Soup makes me think of: my dad and his dad, my Grandpa Dale. Both of these guys really like this soup and the times I ate this soup while growing up, I was always with one of them. I wish so badly that I could be at home making this soup for both of them right now and I know they would love it just as much as I would.

I did have the chance to make it for my parents when they visited a few weeks ago. I made soup and sandwiches for lunch, and by the time they left, the pot was scooped completely clean! Which is fine with me, since this soup doesn't seem to reheat as well as most soups. It is best right when after you make it.


French Onion Soup
Makes 4-5 servings

2 tablespoons butter
1 to 2 tablespoons olive oil
1 red onion, thinly sliced
1 yellow onion, thinly sliced
1/2 teaspoon sugar
1 clove garlic, finely chopped
1 can beef consomme
3 to 4 cups beef broth
1/4 teaspoon thyme
1 to 2 bay leaves
Slices French bread
4 to 5 slices good Swiss cheese

1. In a large stock pot, heat the butter and olive oil over medium heat, until the butter is melted and the pan is hot. Add in the sliced onions and toss to completely cover in the oil and butter mixture. Reduce heat to medium-low and put a lid on the pot. Allow the onions to cook, covered, for ten to fifteen minutes. When this time has passed, remove the lid and gently stir the onions. Add the sugar to the onions and continue to cook until the onions are caramelized and golden, about 30 to 40 minutes.

2. When the onions are caramelized, increase the heat to medium and add the garlic. Cook for a few more minutes, then add the can of beef consomme (still condensed) and the beef broth. Next, add the thyme, and the bay leaf. Cook the soup over medium heat for 30 minutes. If the soup begins to boil, turn down the heat a little to maintain a simmer.

3. To serve the soup, there are two things you can do, depending on the dishes you have. If you have soup crocks, then fill them with the soup and top with one or two pieces of French bread, then a slice of swiss cheese. Put the crocks in the oven under the broiler for a few minutes, until the cheese is melted and toasty. Remove from the oven and serve immediately.

If you do not have oven safe bowls, then you can put the slices of bread on a cookie sheet and top the bread with the cheese. Broil in the oven until the cheese is very melted, and then top bowls of the soup with one or two pieces. If you like crispier bread, I would recommend toasting the slices before you top them with cheese. Enjoy!